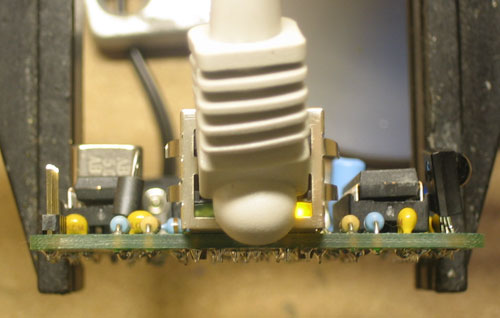
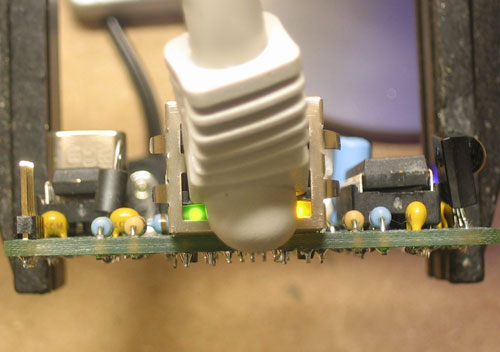
One of the unique things about the YBox2 is that it can get up-to-date Internet content and display it. To do so, it will need a network connection. At this time the YBox2 does not support any sort of wireless connectivity. Instead we will use a standard Ethernet cable.
- If you have a cable modem or DSL modem or wireless router, check the manual on how to connect a new computer to the router. Most of the time, you can just plug in a new cable.
- The YBox2 is a 10BaseT device, but nearly all 100BaseT networks will automatically adjust down to talk to it.
- Make sure you have the correct cable. The YBox2 does not auto-crossover.
- If the connection is good you will get a link-light on the router/hub and the YBox2
- If you have a computer with both a wireless link and an Ethernet port - as many laptops do - you can often configure it to share the connection so the YBox can get to the wireless network via the Ethernet connection.

If the connection is good you will get a link-light on the router/hub and the YBox2, which is the righthand light
The YBox2 uses DHCP (dynamic host control protocol) to get an IP (Internet Protocol) address. DHCP is one of the most common methods for computers to connect to a router and initialize. In almost all cases, the DHCP should just work and you will get an address from the bootloader.
In some cases, the MAC address of the YBox2 may need to be registered with the router. This is especially true of corporate networks where security is important. The YBox2 will randomly generate a MAC address the first time it up and stores it in the EEPROM so that it will always be the same. The MAC is displays it at the bootloader startup screen.
Note that the IP address given to the YBox2 may change if the DHCP host (router) is not configured to give the same address each time.

Whenever data is sent or received over the network, the activity light (left light) will blink
