Table of Contents
Introduction
The 'brains' of the Arduino is a microcontroller called an ATmega. It is a product line from AVR (a Norweigen chip company). Just like Intel & AMD release new & better chips each year, so does AVR. The first versions of the Arduino (up to the NG) used an ATmega8 - a chip with 8K of flash memory and 1K of RAM. Then AVR released the ATmega168, a drop-in replacement with 16K of flash and 1K of RAM - a really big improvement! Now there is the ATmega328 with 32K of flash and 2K of RAM.
Updating and replacing your Arduino is easy and painless and costs only a few dollars. Your sketches will work just as before but with a little more breathing room.
In order to perform this upgrade you will have to either purchase a preprogrammed chip or program it yourself with a AVR programmer or by 'bitbanging' it.
Replace the chip
First, gently pry the Arduino microcontroller from its socket using a small flat screwdriver or similar. Try to make sure the pins dont get bent. Put it in a safe place. Preferably in an anti-static bag.

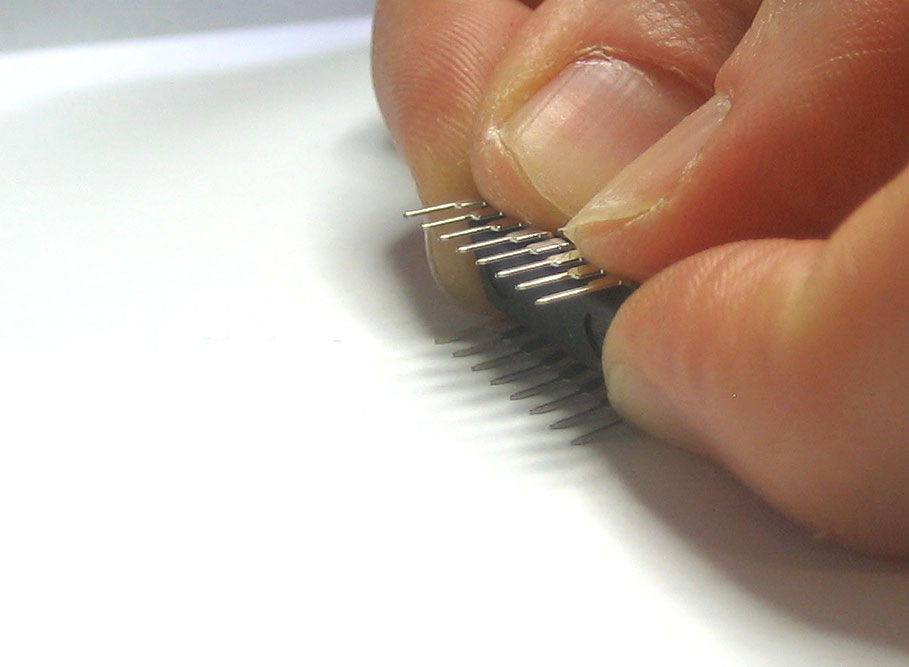
Next, prepare the new chip. The pins of ICs are a little skewed when they come from the factory, so they need to be bent in just a tiny bit, to be parallel. Grip the chip from the ends and use a table.
Finally, replace the old chip, lining up all the pins and making sure that the notch in the chip matches the notch in the socket!
Download an Arduino IDE with ATmega328 compatibility
Version 13 and up of the Arduino software supports the 328!
If you purchased a chip from Adafruit that shipped before Feb 5, 2009 the chip will have the baudrate set at 19200 (same as the older Arduinos). After Feb 5 the upgrade chips were changed to 57600 baud rate (3 times faster!) in order to be compatible with new Arduinos. If you have a 19200 baud rate chip you will have difficulty uploading. Simply quit the Arduino application and edit the file in the hardware folder named boards.txt and change the line from
atmega328.upload.speed=57600
to
atmega328.upload.speed=19200
If you're having problems please try BOTH just in case!
