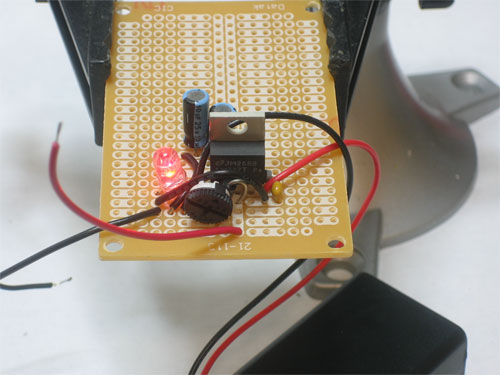
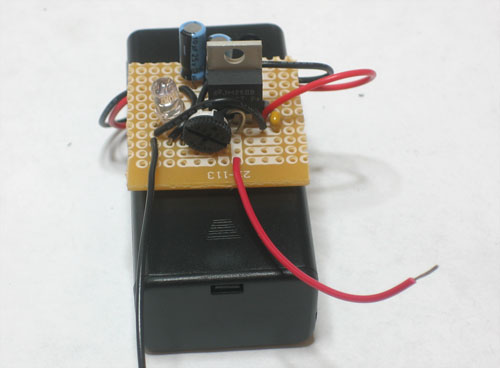
Introduction
Being able to poke voltages into your projects will help you debug. You can buy an adjustable power supply for $50 or so, or build your own from a kit (another one) Just look for any power supply kit that has a LM317 in it.
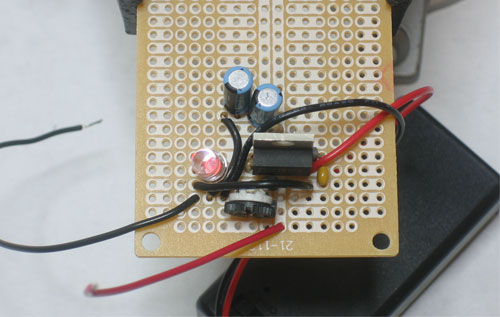
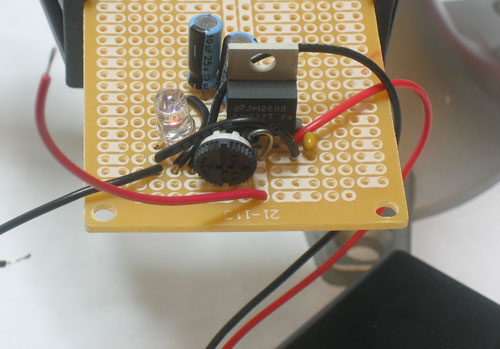
You can also build it for $10 using a 9V battery as input and test clips for outputs. This won't be able to provide a lot of power (cause its just a 9V) but it can go pretty far for testing and debugging
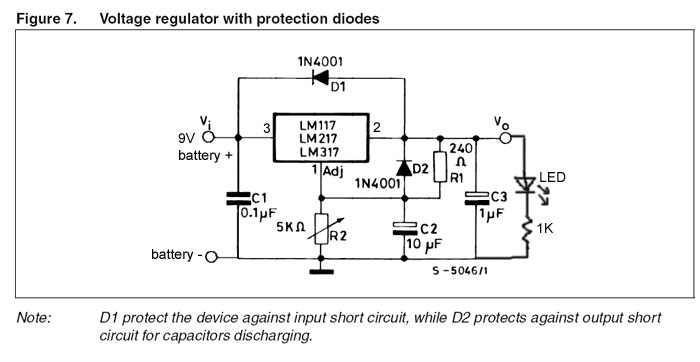
The schematic is adapted from the one on page 9 of the datasheet and, yet, there is a mistake!
Note: in the schematic, pins 3 and 2 are swapped. Follow the directions below if you're confused.
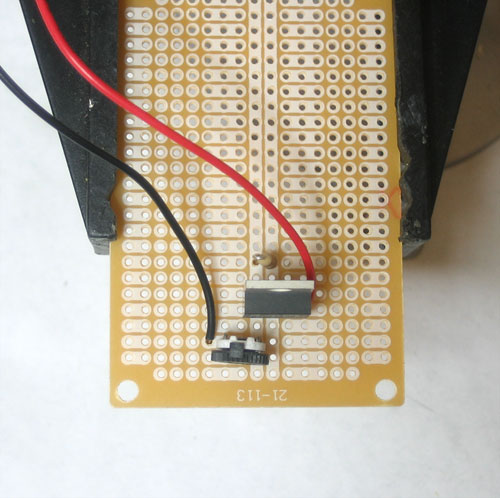
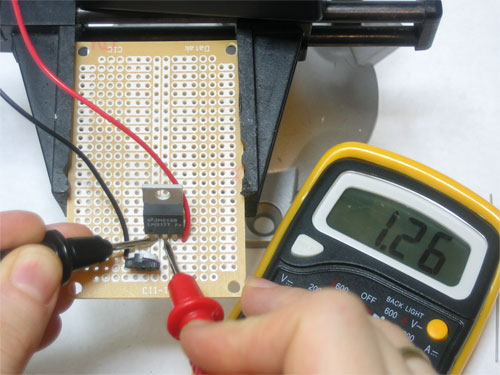
Note that the LM317 is NOT connected to ground at any pin!
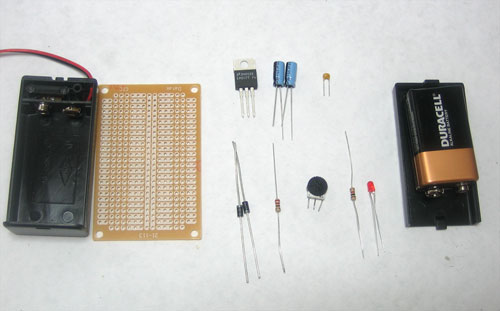
Parts list
| Image | Name |
Description | Part # |
Qty |
Price (approx) |
|||||||
|---|---|---|---|---|---|---|---|---|---|---|---|---|
IC1 |
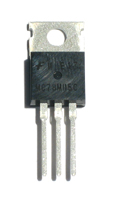
Adjustable voltage regulator | LM317T |
1 |
$2 |
||||||||
 |
C2 C3 |
10uF capacitor (or larger) 10V rating (or larger) | 2 |
$1 |
||||||||
 |
C1 |
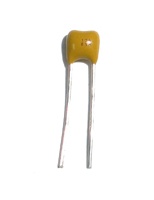
0.1uF ceramic capacitor | 1 |
$0.50 |
||||||||
 |
D1 D2 |
Protection diode | 1N4001 | 2 |
$1 |
|||||||
|
R1 |
~240 ohm resistor (200 to 270 is fine) ($0.25) | 1 |
$0.25 |
||||||||
 |
R2 |
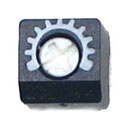
5K potentiometer. In this case a 1K pot is fine too. I like the thumbwheel ones for this project | 1 |
$1 |
||||||||
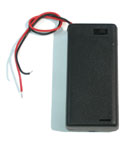 |
9V battery pack with switch |
1 |
$2 |
|||||||||
| 9V battery | 1 |
$2 |
||||||||||
| Breadboard | 1 |
$2 |
||||||||||
 |
Red LED (optional) | 1 |
$0.50 |
|||||||||
|
1K resistor (optional | 1 |
$0.25 |
Make it

